Installation
Requirements
- Xcode command-line tools
$ sudo xcode-select --install - Install NodeJS
- node must exist at the standard location:
/usr/local/bin/node. If you use NVM the version installed by that will not be findable by VoiceCode.
- node must exist at the standard location:
- Make sure
voicecodedirectory does not exist in your home folder, as this is our working directory.
Upgrading from a previous version
This release has some major changes, please follow the upgrade instructions before continuing the rest of the installation steps
Installing
- Click here to download the latest release
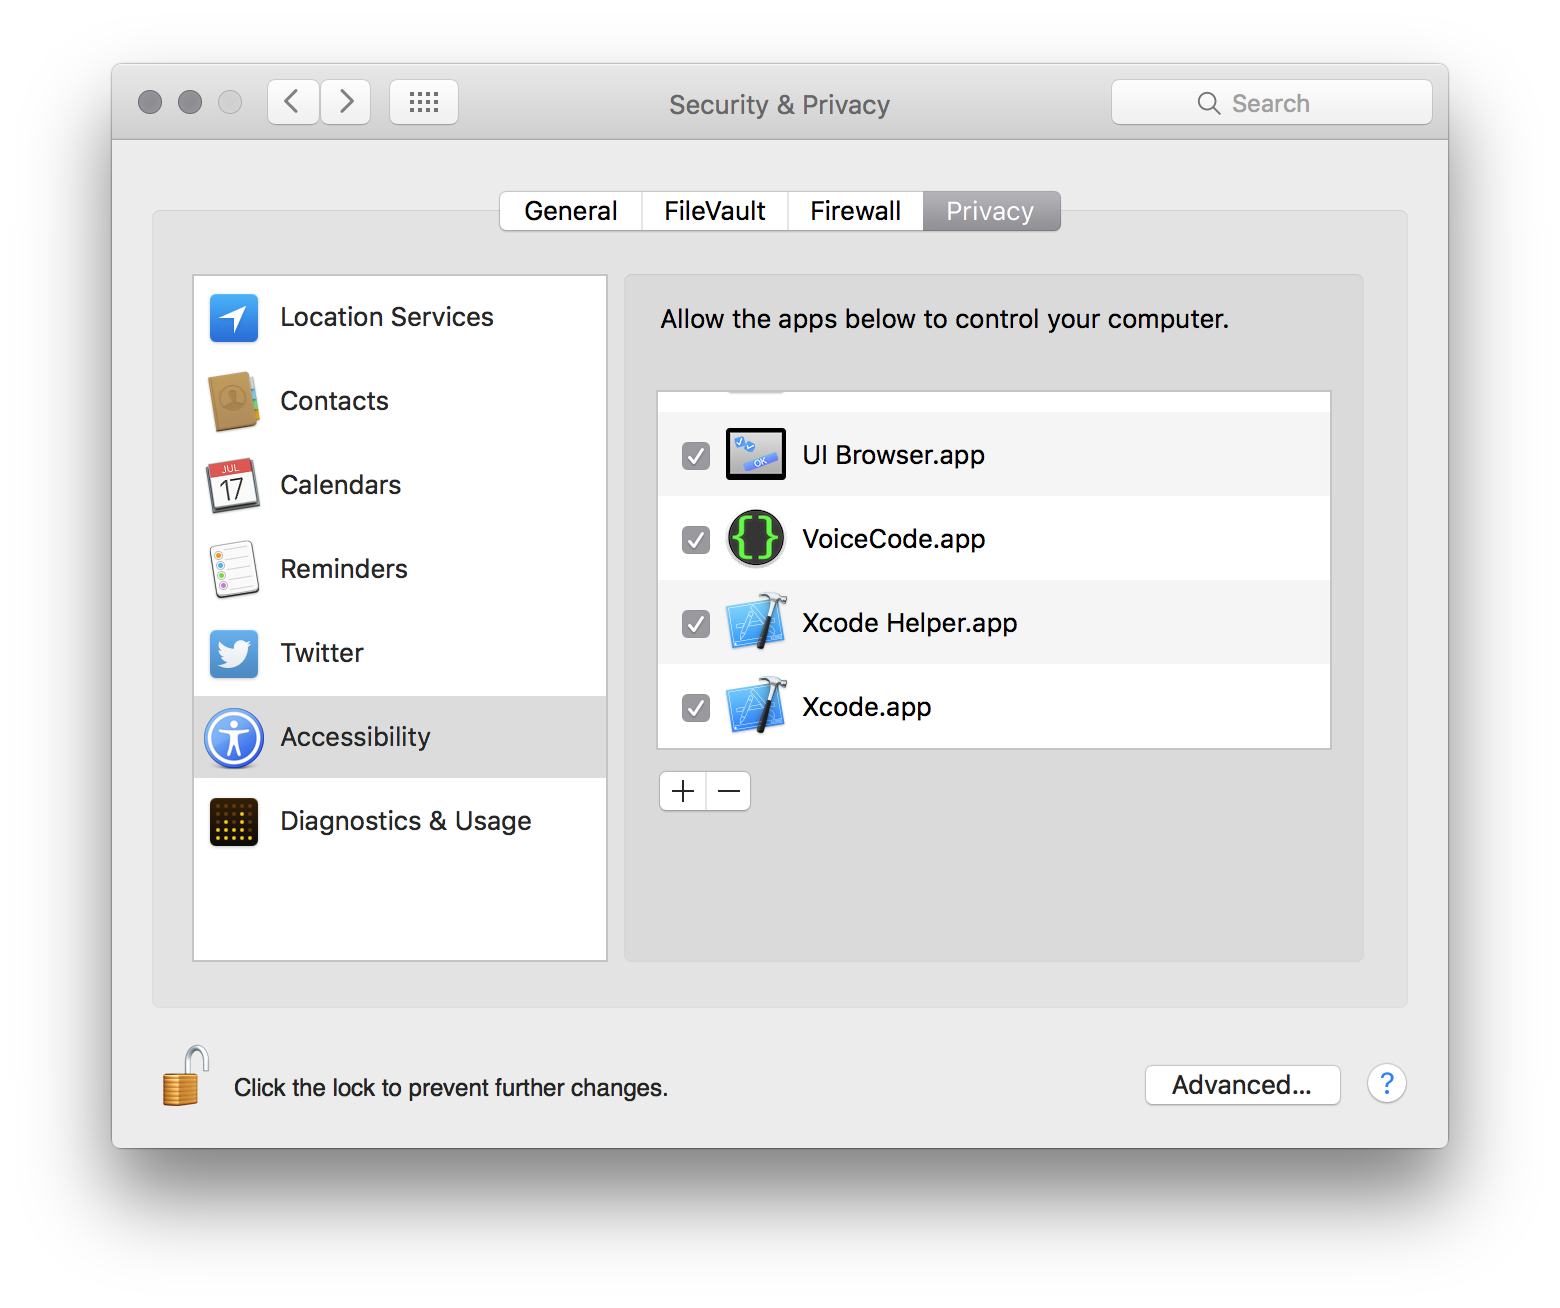
- Drag-and-drop the unzipped application into System Preferences > Security Privacy > Accessibility
- Launch the VoiceCode App
- VoiceCode runs in the menu-bar
- On first run, it will download lots of packages and prepare needed directories and resources
- Click the VoiceCode menu-bar icon, then press
⌘Qafter the first run - Start VoiceCode again and this time it will automatically launch Dragon for you
Add Your License
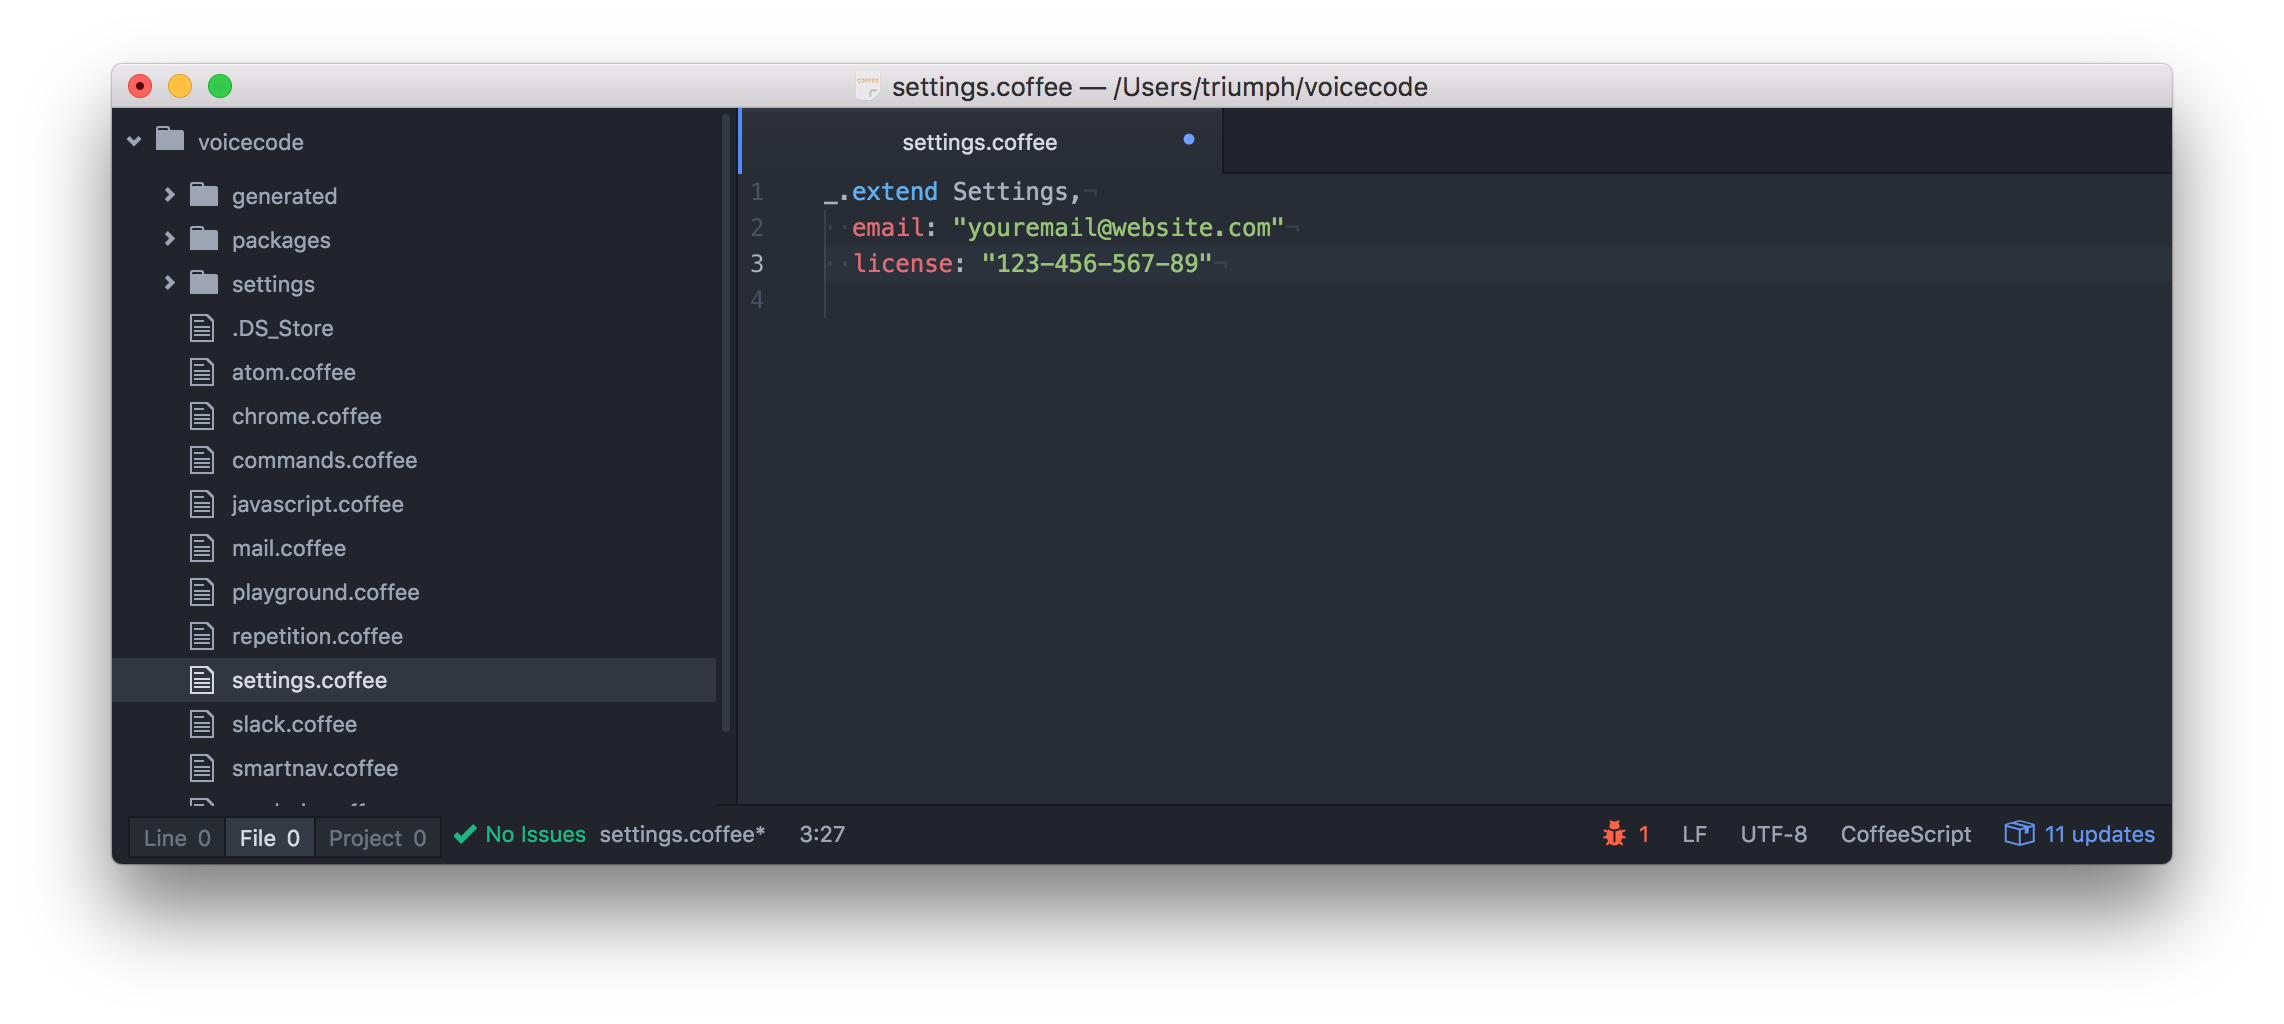
- A file will be automatically generated at
~/voicecode/settings.coffee - Open the file in a text editor and fill in your email and license code that you received
Dragon Version
There are some differences between Dragon 5 and 6. VoiceCode now assumes Dragon 6 by default. If you are on Dragon 5.* Add this setting to your ~/voicecode/settings.coffee file
Settings.dragon_darwin = {version: 5}
Enable Packages
Only a few required packages are installed by default. Click on the "Packages" tab in the VoiceCode UI and scroll through the packages, enabling any that you may want to use (you can always disable a package later if needed)
Enable Commands
Once some packages are enabled, switch to the "Commands" tab and start scrolling through the available commands, enabling all commands you think you may want to use. You can always come back and enable more, or disable some at any time. After new commands are enabled Dragon needs to be restarted, just say 🔉drag restart🔉.